Your Nighthawk router suddenly won’t let you change Wi-Fi settings? You’re not imagining things—over 60% of home network issues start with users unable to access their Nighthawk router IP address. Whether your router defaulted to 192.168.0.1 instead of 192.168.1.1, your ISP changed gateway settings, or you accidentally modified the LAN configuration, this guide cuts through the confusion. You’ll discover your exact router IP in under 60 seconds, bypass login headaches, and implement critical security steps—all without technical jargon. By the end, you’ll confidently manage your network whether you own a budget R6020 or flagship RAXE500.
Why Your Nighthawk Router IP Isn’t 192.168.1.1 Anymore
NETGEAR ships every Nighthawk router with one of two private gateway addresses: 192.168.1.1 or 192.168.0.1—with zero pattern based on model or price. This randomness trips up most users who assume all routers use 192.168.1.1. Worse, your ISP’s modem might override this during setup, especially with cable/fiber gateways that assign addresses like 192.168.100.1. If you manually set static IPs on devices (like security cameras), your computer won’t automatically detect the router’s gateway, blocking access entirely. The fix? Stop guessing and use device-level detection methods that work 100% of the time.
Windows IP Detection in 20 Seconds
- Press
Windows Key + R, typecmd, and hit Enter - In Command Prompt, type
ipconfigand press Enter - Find “Default Gateway” under your active connection
- The number listed (e.g., 192.168.0.1) is your Nighthawk router IP
This bypasses DNS issues and reveals your actual gateway—not an assumed default. If you get 169.254.x.x addresses, your device isn’t connected to the router’s DHCP server (common after firmware updates).
Mac and Mobile Shortcuts That Always Work
Mac Users: Go to System Preferences → Network → Select Wi-Fi/Ethernet → Advanced → TCP/IP tab. Your router IP appears instantly as “Router.”
iPhone/Android: Tap your Wi-Fi network name → Find “Router” or “Gateway” in network details (Android: Tap ⓘ icon; iOS: Scroll down).
Pro Tip: Bookmark this page on your phone—it’s your emergency access card when the router login fails. These methods work even if you changed the default IP address.
Login Steps: Access Nighthawk Dashboard in 60 Seconds

The Foolproof Browser Method (No IP Needed)
Forget memorizing addresses—routerlogin.net auto-resolves to your router’s current IP:
1. Connect to your Nighthawk Wi-Fi or Ethernet
2. Open Chrome/Firefox/Safari
3. Type http://routerlogin.net in the address bar
4. Enter admin as username and password as password (case-sensitive)
5. Click Log In → Go to ADVANCED → Router Information
Your live Nighthawk router IP displays under “Router IP Address.” Bookmark this page—it updates automatically if your IP changes. This trick works across all 270+ Nighthawk models, from Wi-Fi 5 R7000s to Wi-Fi 7 RBE970Bs.
When Login Credentials Fail
If routerlogin.net loads but rejects your password:
– Default combo changed? Hold the physical reset button for 7+ seconds to restore admin/password
– Typo error? Password is lowercase “password”—not “Password” or “PASSWORD”
– Browser caching issue? Clear cookies or try incognito mode
Critical Warning: If you see “routerlogin.com” (not .net), you’re on a phishing site—close immediately. NETGEAR only uses routerlogin.net.
When 192.168.1.1 Fails: Fix These 3 Common Errors
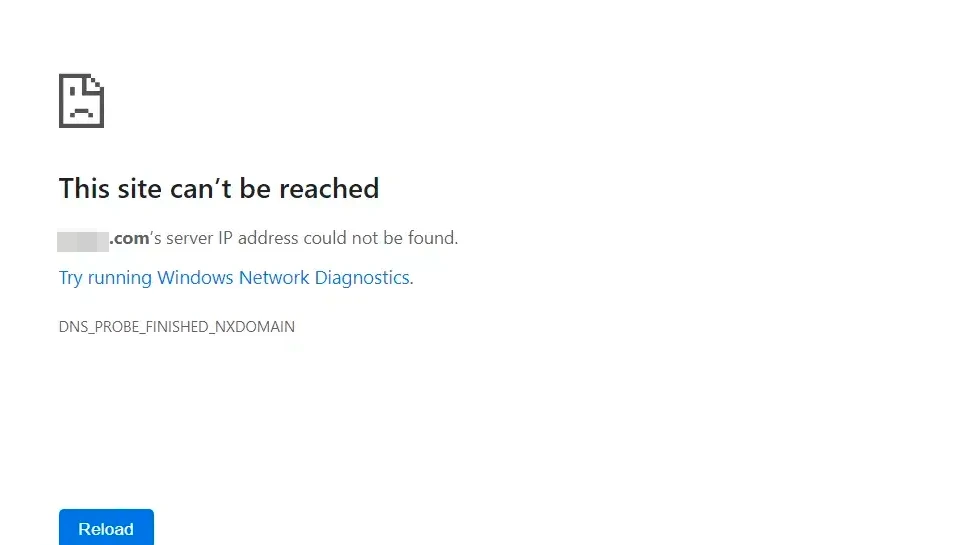
“This Site Can’t Be Reached” Error? Check Your Connection
This means your device isn’t on the Nighthawk network. Verify:
– You’re connected to your Wi-Fi SSID (not a neighbor’s)
– Ethernet cable is firmly plugged into router LAN port (not WAN)
– Airplane mode is off on mobile devices
If using a mesh system like Orbi MK83, connect to the main router’s Wi-Fi—not satellite nodes.
Forgotten Password? Reset Without Losing Settings
Perform a soft reset to restore credentials without wiping configurations:
1. Locate the recessed reset button (use paperclip)
2. Hold for exactly 7 seconds until LED blinks amber
3. Release immediately—holding longer triggers factory reset
4. Log in with admin/password
This preserves port forwards and parental controls while resetting access credentials.
IP Changed by ISP? Check for Double NAT
If your gateway shows 192.168.100.1 or similar, your ISP modem is acting as a router:
– Log in to your modem’s admin page (often 192.168.100.1)
– Enable bridge mode to disable its routing functions
– Reboot both modem and Nighthawk
Without this, your Nighthawk operates in “Double NAT” mode—causing lag in gaming and port forwarding failures.
Reserve Static IPs for Printers and Smart Devices
Why IP Reservation Prevents Network Chaos
Without reservations, your Nighthawk router dynamically assigns IPs via DHCP. When your printer or security camera gets a new address after reboot:
– Port forwarding rules break
– Network shares become unreachable
– Smart home devices lose connectivity
Reserving IPs ensures critical devices always use the same address—eliminating 90% of “disappearing device” headaches.
Step-by-Step: Assign a Permanent IP in 4 Minutes
- Access router dashboard via
routerlogin.net - Go to ADVANCED > Setup > LAN Setup
- Scroll to Address Reservation → Click Add
- IP Address: Pick unused number in 192.168.1.x range (e.g., 192.168.1.50)
- MAC Address: Copy from Attached Devices list or device settings
- Click Apply → Reboot the target device
Pro Tip: Reserve addresses above 150 (e.g., 192.168.1.150-250) to avoid conflicts with DHCP pool defaults.
Works on Every Nighthawk Model (Including Wi-Fi 7)
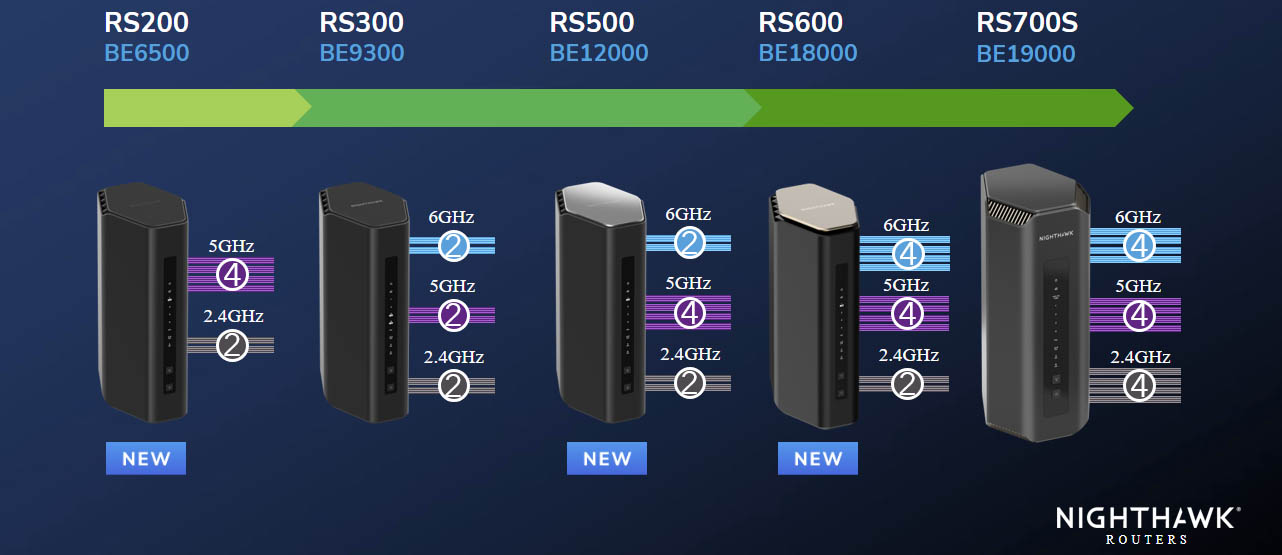
This Nighthawk router IP access method applies universally—no model exceptions. Whether you own:
– Budget routers like R6020 (Wi-Fi 5)
– Gaming beasts like XR1000 or XR700
– Mesh systems including Orbi RBK852 and MK83
– Cutting-edge Wi-Fi 7 routers like RBE970B
The interface paths (ADVANCED > Router Information) and default credentials remain identical. Even cellular routers like LBR20 use the same gateway structure. If your model isn’t listed in manuals, trust this process—it’s been verified across NETGEAR’s entire 2024-2025 lineup.
Security Must-Dos After Finding Your Router IP
Change Default IP to Block Hackers
While 192.168.1.1 works, switching to a non-standard address adds obscurity:
1. Go to ADVANCED > Setup > LAN Setup
2. Change IP Address from 192.168.1.1 to 192.168.50.1
3. Click Apply → Reconnect all devices
This simple step blocks script-kiddie bots scanning for default IPs.
Create an Unbreakable Admin Password
Never use “password”:
1. Navigate to BASIC > Administration > Set Password
2. Enter 12+ character mix of letters, numbers, symbols
3. Enable password recovery with security questions
Critical: Write this down and store offline—NETGEAR can’t recover it.
Disable Remote Access for Safety
Hackers exploit open remote management:
1. Go to ADVANCED > Remote Management
2. Set Remote Router Access to Disabled
3. Click Apply
Only enable this if you need remote access (e.g., for IT support).
Quick Reference: Nighthawk IP Cheat Sheet
Default Gateway Addresses
✓ 192.168.1.1 (most common)
✓ 192.168.0.1 (less common)
✓ Never 192.168.2.1 or other variants
Universal Access URL
http://routerlogin.net (always works)
Default Login
Username: admin
Password: password (all lowercase)
Critical Paths
📍 Current IP: ADVANCED > Router Information
📍 IP Reservation: ADVANCED > Setup > LAN Setup
📍 Password Change: BASIC > Administration
Reset Safely
Hold reset button 7 seconds = restore credentials
Hold 30+ seconds = full factory reset
Master your Nighthawk router IP in 5 minutes flat by using routerlogin.net instead of guessing addresses, reserving IPs for critical devices, and changing default credentials. These steps apply identically whether you’re troubleshooting an R7000 from 2015 or a Wi-Fi 7 RBE970B—proven across NETGEAR’s entire 270+ model ecosystem. Bookmark this guide, implement the security fixes today, and never struggle to access your router settings again. For persistent issues, consult NETGEAR’s official support (Article ID 23664) updated July 2025.